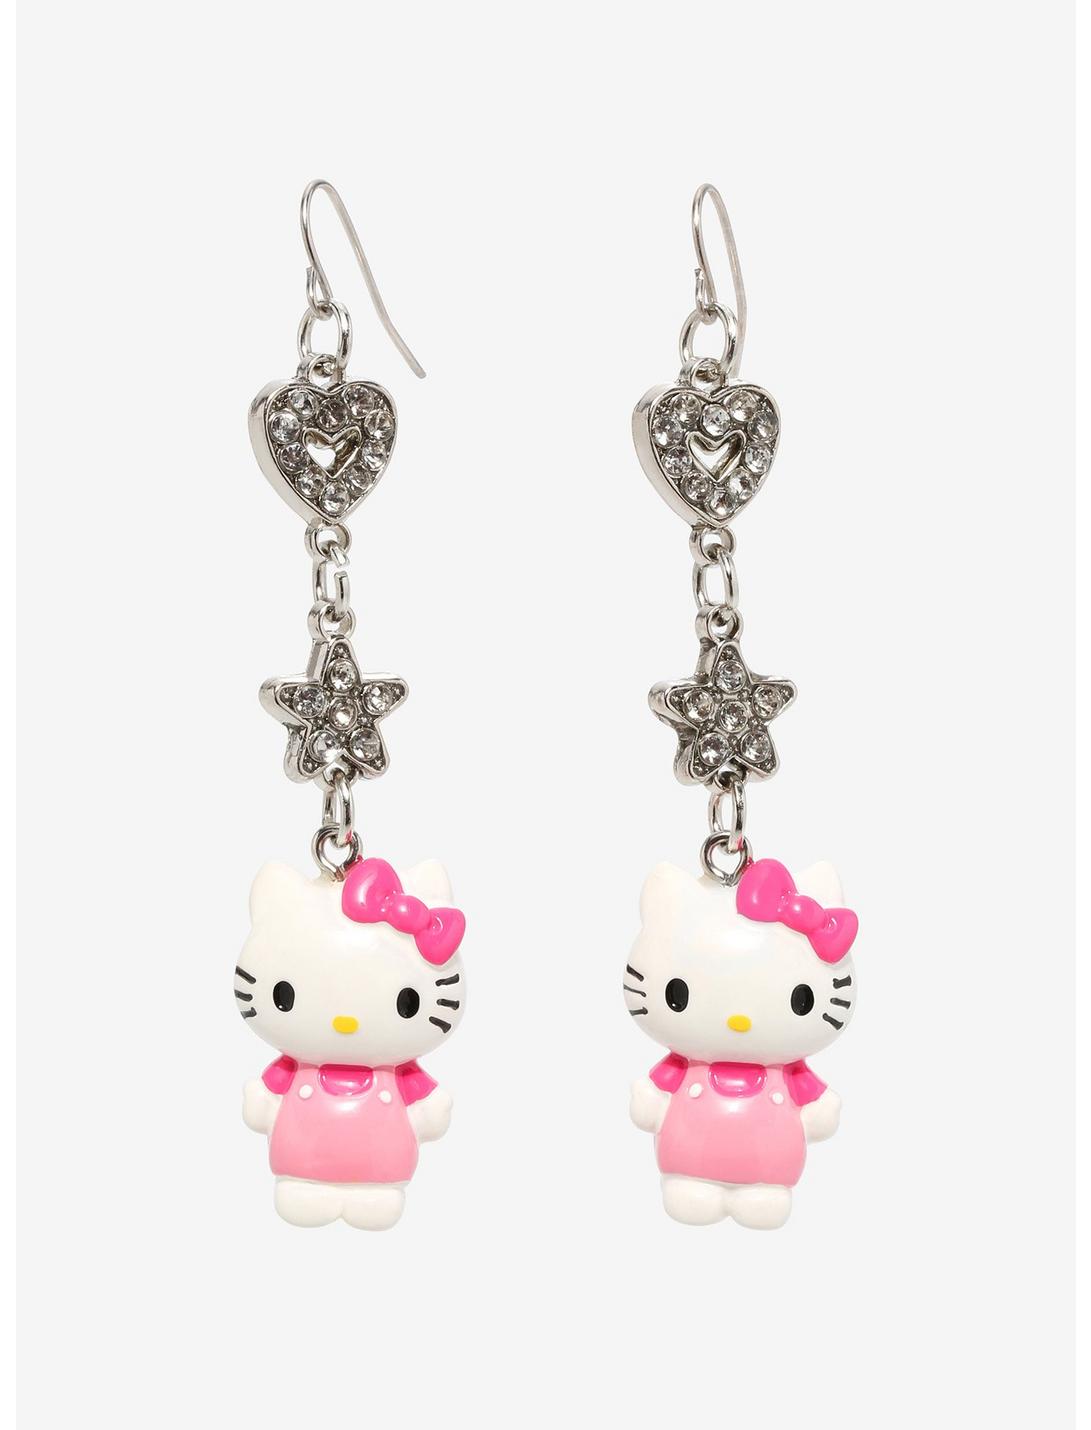
Unleash your creativity and elevate your style by crafting your own personalized earrings. In this comprehensive guide, we’ll walk you through the step-by-step process of creating beautiful earrings that reflect your unique taste and style. Whether you’re a seasoned crafter or a beginner, making earrings can be a rewarding and enjoyable DIY project. Let’s dive into the world of handmade jewelry and discover how to make earrings that are as unique as you are.
Materials Needed:
- Earring hooks or studs
- Headpins or eyepins
- Beads, charms, or gemstones
- Round-nose pliers
- Wire cutters
- Flat-nose pliers (optional)
- Earring findings (optional)
- Earring backs (optional)
Step 1: Design Your Earrings Begin by sketching or planning the design of your earrings. Consider the type of beads or charms you want to use, the overall length of the earrings, and any specific color scheme or theme you have in mind.
Step 2: Gather Your Materials Collect all the necessary materials for your project. Ensure you have a variety of beads, charms, or gemstones that align with your design. Lay out your tools, including pliers and wire cutters, for easy access.
Step 3: Cut the Headpins If you’re using headpins, cut them to the desired length using wire cutters. If using eyepins, you can skip this step.
Step 4: String Your Beads Slide your chosen beads or charms onto the headpins in the order you planned. Experiment with different combinations until you achieve the desired look.
Step 5: Create a Loop Using round-nose pliers, grasp the headpin just above the last bead. Bend the wire at a 90-degree angle. Reposition the pliers to the top of the bend and rotate the wire around the pliers to create a loop. Trim any excess wire with wire cutters.
Step 6: Attach to Earring Hooks Open the loop you just created with pliers. Attach the loop to the earring hook or stud. Close the loop securely. If you prefer, you can use earring findings for added flair.
Step 7: Add Optional Findings Consider adding earring findings or backs for extra security and comfort. Use flat-nose pliers to attach them if desired.
Step 8: Inspect and Refine Carefully inspect your earrings for any sharp edges or loose components. Make any necessary adjustments and ensure that all connections are secure. Use pliers to adjust the shape and positioning of the loops to ensure the earrings hang correctly.
Step 9: Wear and Showcase Your Creations Put on your newly crafted earrings and revel in the satisfaction of wearing something truly unique. Showcase your handmade creations with pride, knowing you’ve added a personal touch to your jewelry collection.
Making earrings is a delightful and rewarding craft that allows you to express your style and creativity. By following this step-by-step guide, you’ll be on your way to creating stunning earrings that reflect your individuality. Enjoy the process of crafting and wearing your handmade accessories!